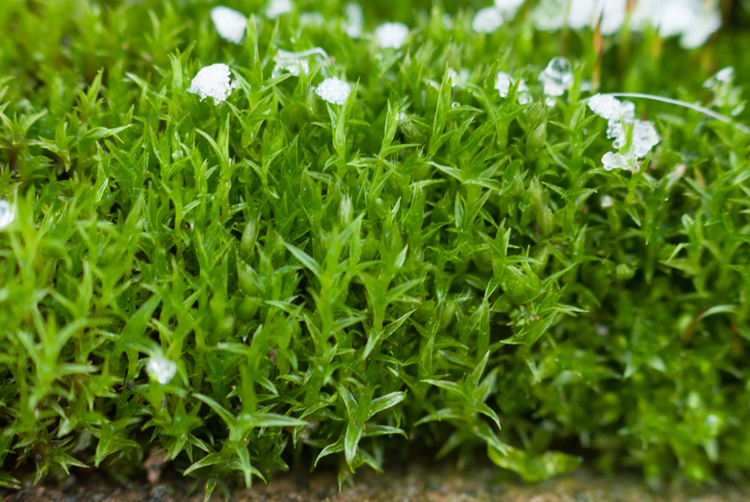
As concerns about drought continue to rise, many people are looking for drought tolerant alternatives to grass lawns or looking for plants that can tolerate growing under trees where grass will not grow. If you have trees that provide shade you probably have a great site for mosses!
There are 153 species of mosses found in Montana and while not all of them are appropriate for use as lawn substitutes, many are! We tend to think of mosses as delicate and needing very moist conditions but mosses are surprisingly drought tolerant and take very little maintenance once established.
Why would I want a moss lawn?
- year-round color
- adds beautiful texture to shady spots
- does well with most shade-loving shrubs and deciduous trees (especially maples)
- good for erosion control
- helps retain moisture and nutrients in the soil
- very low maintenance once established – takes care of itself – you just keep the leaves and needles off of it
- no need for noisy, polluting lawn mowers
Is my yard a good candidate for a moss lawn? Yes if you have:
- soil: mosses are very adaptable to most soils including compacted soils, clay and compost; some aren’t too happy in sand but others tolerate it
- shade: although a few species are sun-loving, most mosses prefer shade – partial to full shade

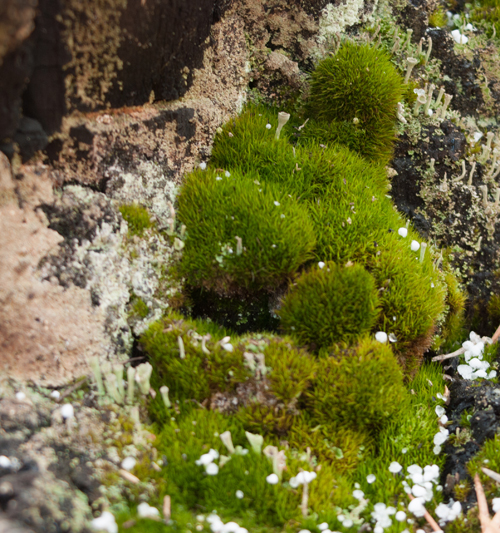
moss grows everywhere
Isn’t it too hot and dry?
Start looking around where you live, you will probably be surprised to find mosses growing not too far away. They are one of Earth’s oldest types of plants for a reason – they are very adaptable. Mosses need water droplets to reproduce and spread, but they can live for long periods of time without water – they are tough!
While mosses tolerate periods of drought they prefer some moisture. So is it too hot and dry where you live – probably not if you can give them shade and some supplemental water.
Will moss tolerate traffic?
- yes, and it actually benefits from some foot traffic once established; in the early stages avoid walking on it and use stepping-stones or a walkway
- does not like quick stops and skids that break the stems – not good for the kid’s running games
- probably not too useful where the dog creates a path running along the fence
How big an area should I start with?
With most plantings I suggest starting with a small manageable area, but because moss is so slow-growing I recommend selecting an area as large as you can keep regularly watered (ie moist) for several months.
What is the best place for moss?
- shady places – a few moss species like full sun, but not most
- sites with light traffic – no quick stops and running and no dog paths
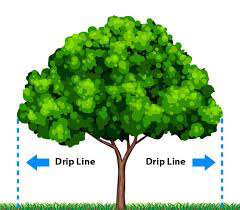
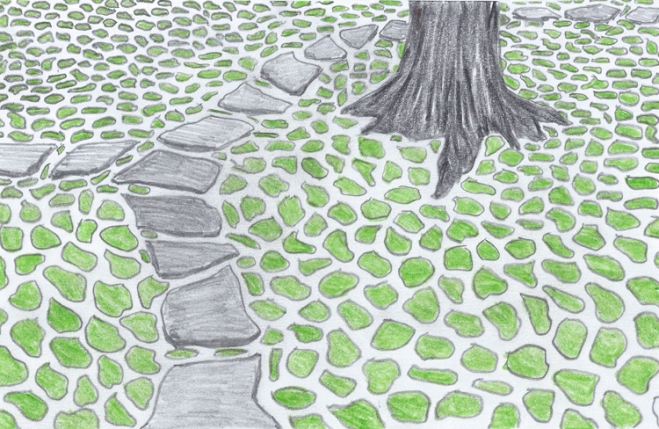
- under trees
How do I prepare the soil?
Mosses aren’t too fussy about soils, but they thrive where soils are a bit acidic (pH 5.5). A simple soil test can tell you if your soils may need some amendments to reduce alkalinity or acidity. If your soil’s pH is higher than 5.5 lower it with skimmed milk powder, powdered sulfur, or rhododendron fertilizer. Be sure to lightly water in any powdered amendments.
Soil preparation includes clearing the soil of weeds, grass, conifer needles and leaves where you want the moss to grow. If you prefer a smooth, flat moss lawn take time to level the area, otherwise leave bumps and lumps to become part of the picture.
Water your soil well prior to planting.

Pleurocarpous moss
What kind of moss is best?
There are two general types of moss: Pleurocarpous and Acrocarpous. Consider using a mixture of both types and even mixing mosses of different colors.
Pleurocarpous type mosses spread horizontally over the ground and tend to grow quickly and constantly making them desirable for carpeting.
Examples:
- Fern moss (Thuidium delicatulum)
- Erect-Fruited Iris-Moss (Distichium capillaceum)
- Juniper Haircap-Moss (Polytrichum juniperinum)

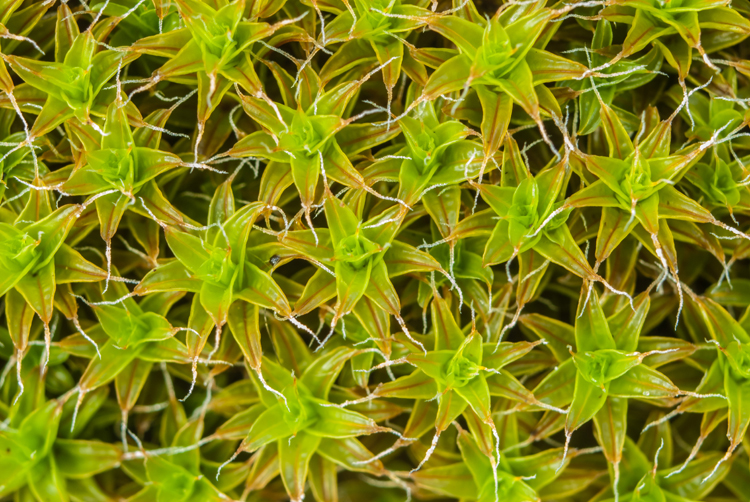
Acrocarpous moss
Acrocarpous type mosses tend to grow in clumps that develop before it spreads horizontally. They are slower growing and need to dry out periodically and thus are more drought tolerant than Pleurocarps.
Examples:
- Fire Moss (Ceratodon purpureus)
- Bottle Moss (Amphidium lapponicum)
- Broom Moss, Rock Cap Moss, Windswept Moss (Dicanum scoparium)
Where do I get moss?
There are suppliers on the Internet and perhaps your local nurseries supply mosses.
I prefer suppliers that use moss as live plants rather than those that collect moss and dry it for ornamental purposes.
Collecting moss from your own property is the ideal solution. It not only is a free source but also indicates that mosses are happy in your environment and you will have the best chance of success.
Whether you collect from your own property or get permission to harvest from someone else, collect no more than 30% of existing plants to avoid killing existing populations. After harvesting cover exposed areas with leaf debris so new moss can move in and cover the area – usually within a year or two.
How to gather moss
Mosses can be successfully transplanted anytime of the year.
Mosses (members of the phylum Bryophyta) lack conventional roots, stems, and leaves and grow as carpets of tiny plants that easily separate from their substrate. To harvest, gently pry up pieces of moss using a hori-hori knife or trowel – something with a long blade. Pieces should be about 6” in diameter to keep it from drying out too quickly. Keep some soil intact with the moss.
Transport mosses in seed trays or box flats to minimize disruption of soil and rhizoids. Watering is not necessary but is it is a good idea if the mosses will be uprooted for more than a few hours.
How do I plant moss?
Before planting lightly scratch the soil surface and water thoroughly.
To plant moss gently but firmly press down the moss pieces make good contact with the soil; water thoroughly. Water thoroughly to wet the top inch of soil and then press firmly again, re-compacting the moss into the surface. Secure moss onto rocks and uneven patches to keep moss from moving out-of-place. Plant staples can be used to secure recalcitrant pieces. If you have squirrel issues you may want to place netting over the planting.
To make a little moss go a bit further, place the moss sods at spaced intervals. Over time the sods will grow together to form one continuous patch of green.
spreading out moss pieces
How does moss grow?
If you have seen mosses, you know that they are actually carpets of individual plants. They are rarely taller than one inch high.
Mosses require water to reproduce. While all plants need water, mosses need droplets of water to enable reproduction.
Caring for your moss
Water the fragments 1 to 4 times a day for the first week depending on the conditions and occasionally walk on them to keep their contact with the soil. The best time of day to water is early in the morning. Avoid watering your mosses close to dusk.
A sprinkler head or hose with a very fine nozzle that mists the moss is much better than direct water pressure which may damage the plants. If the moss begins to appear dark green or patchy over time, it is likely receiving too much water.

Watering schedule:
- month 1-2 – daily to increase growth and keep moss in place
- month 3 – every three days
- month 4 – once a week
- month 5 – twice a month until area is completely covered with moss
- month 6 – 12 water if ground’s surface dries out or if there has been no rain for three weeks or more.
Transplanted mosses usually need watering even into the winter months during the first year of establishment. Mosses will survive periods of drought once they are established but it is important for establishment, growth and reproduction that they remain moist for the first 6 months to a year.
Anyone who has tried started a moss lawn knows mosses are grow quite slowly. Most people understand this, but many don’t understand just how slow is slow. Be patient! It may take up to several growing seasons for moss to completely fill in an area. How beautiful when it’s fully matured!
Once moss is established keep the area tidy. Remove leaves and needles. If weeds or grass and creates the least disturbance for your moss. The moss will do the rest. Moss spores are borne on the wind and will settle in on their own and take hold. come up remove them immediately. Tackling them systematically makes management doable.
Can you really reproduce moss by putting it in the blender with buttermilk or beer?
Recently there have been numerous articles and TV shows about creating moss gardens by putting moss in a food blender and creating a slurry that can be painted wherever you want moss to grow.
Here’s one recipe:

moss milkshake
Fill an old blender with a large piece of moss (dead or alive), two cups of buttermilk (or beer), and two cups of water. Blend the mixture until it has the consistency of a traditional milkshake.
Spread your milkshake. Coat your desired objects/garden plot with the moss milkshake. You can pour it directly onto things, use a paintbrush, or a spray bottle (?) to get it spread out. Although not as visually appealing, you can spread this mixture onto the ground rather than planting live bits of moss. This slurry must be kept moist for several months.
Although this may work, the best way to grow moss is by division of a colony or fragmentation, buttermilk is not needed (‘though maybe a beer is.)
If a moss lawn seems like too big a project, there are lots of other ways to use it! Have fun!

what else you can do!
Mud Maiden
Lost Gardens of Heligan, Cornwall, England
http://www.heligan.com

 Jan. 1, 2016
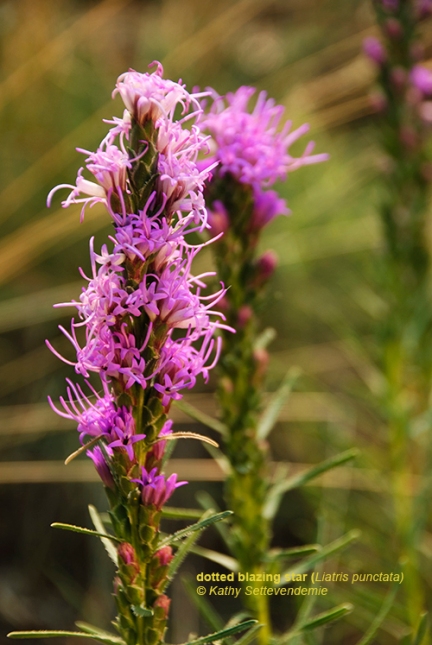
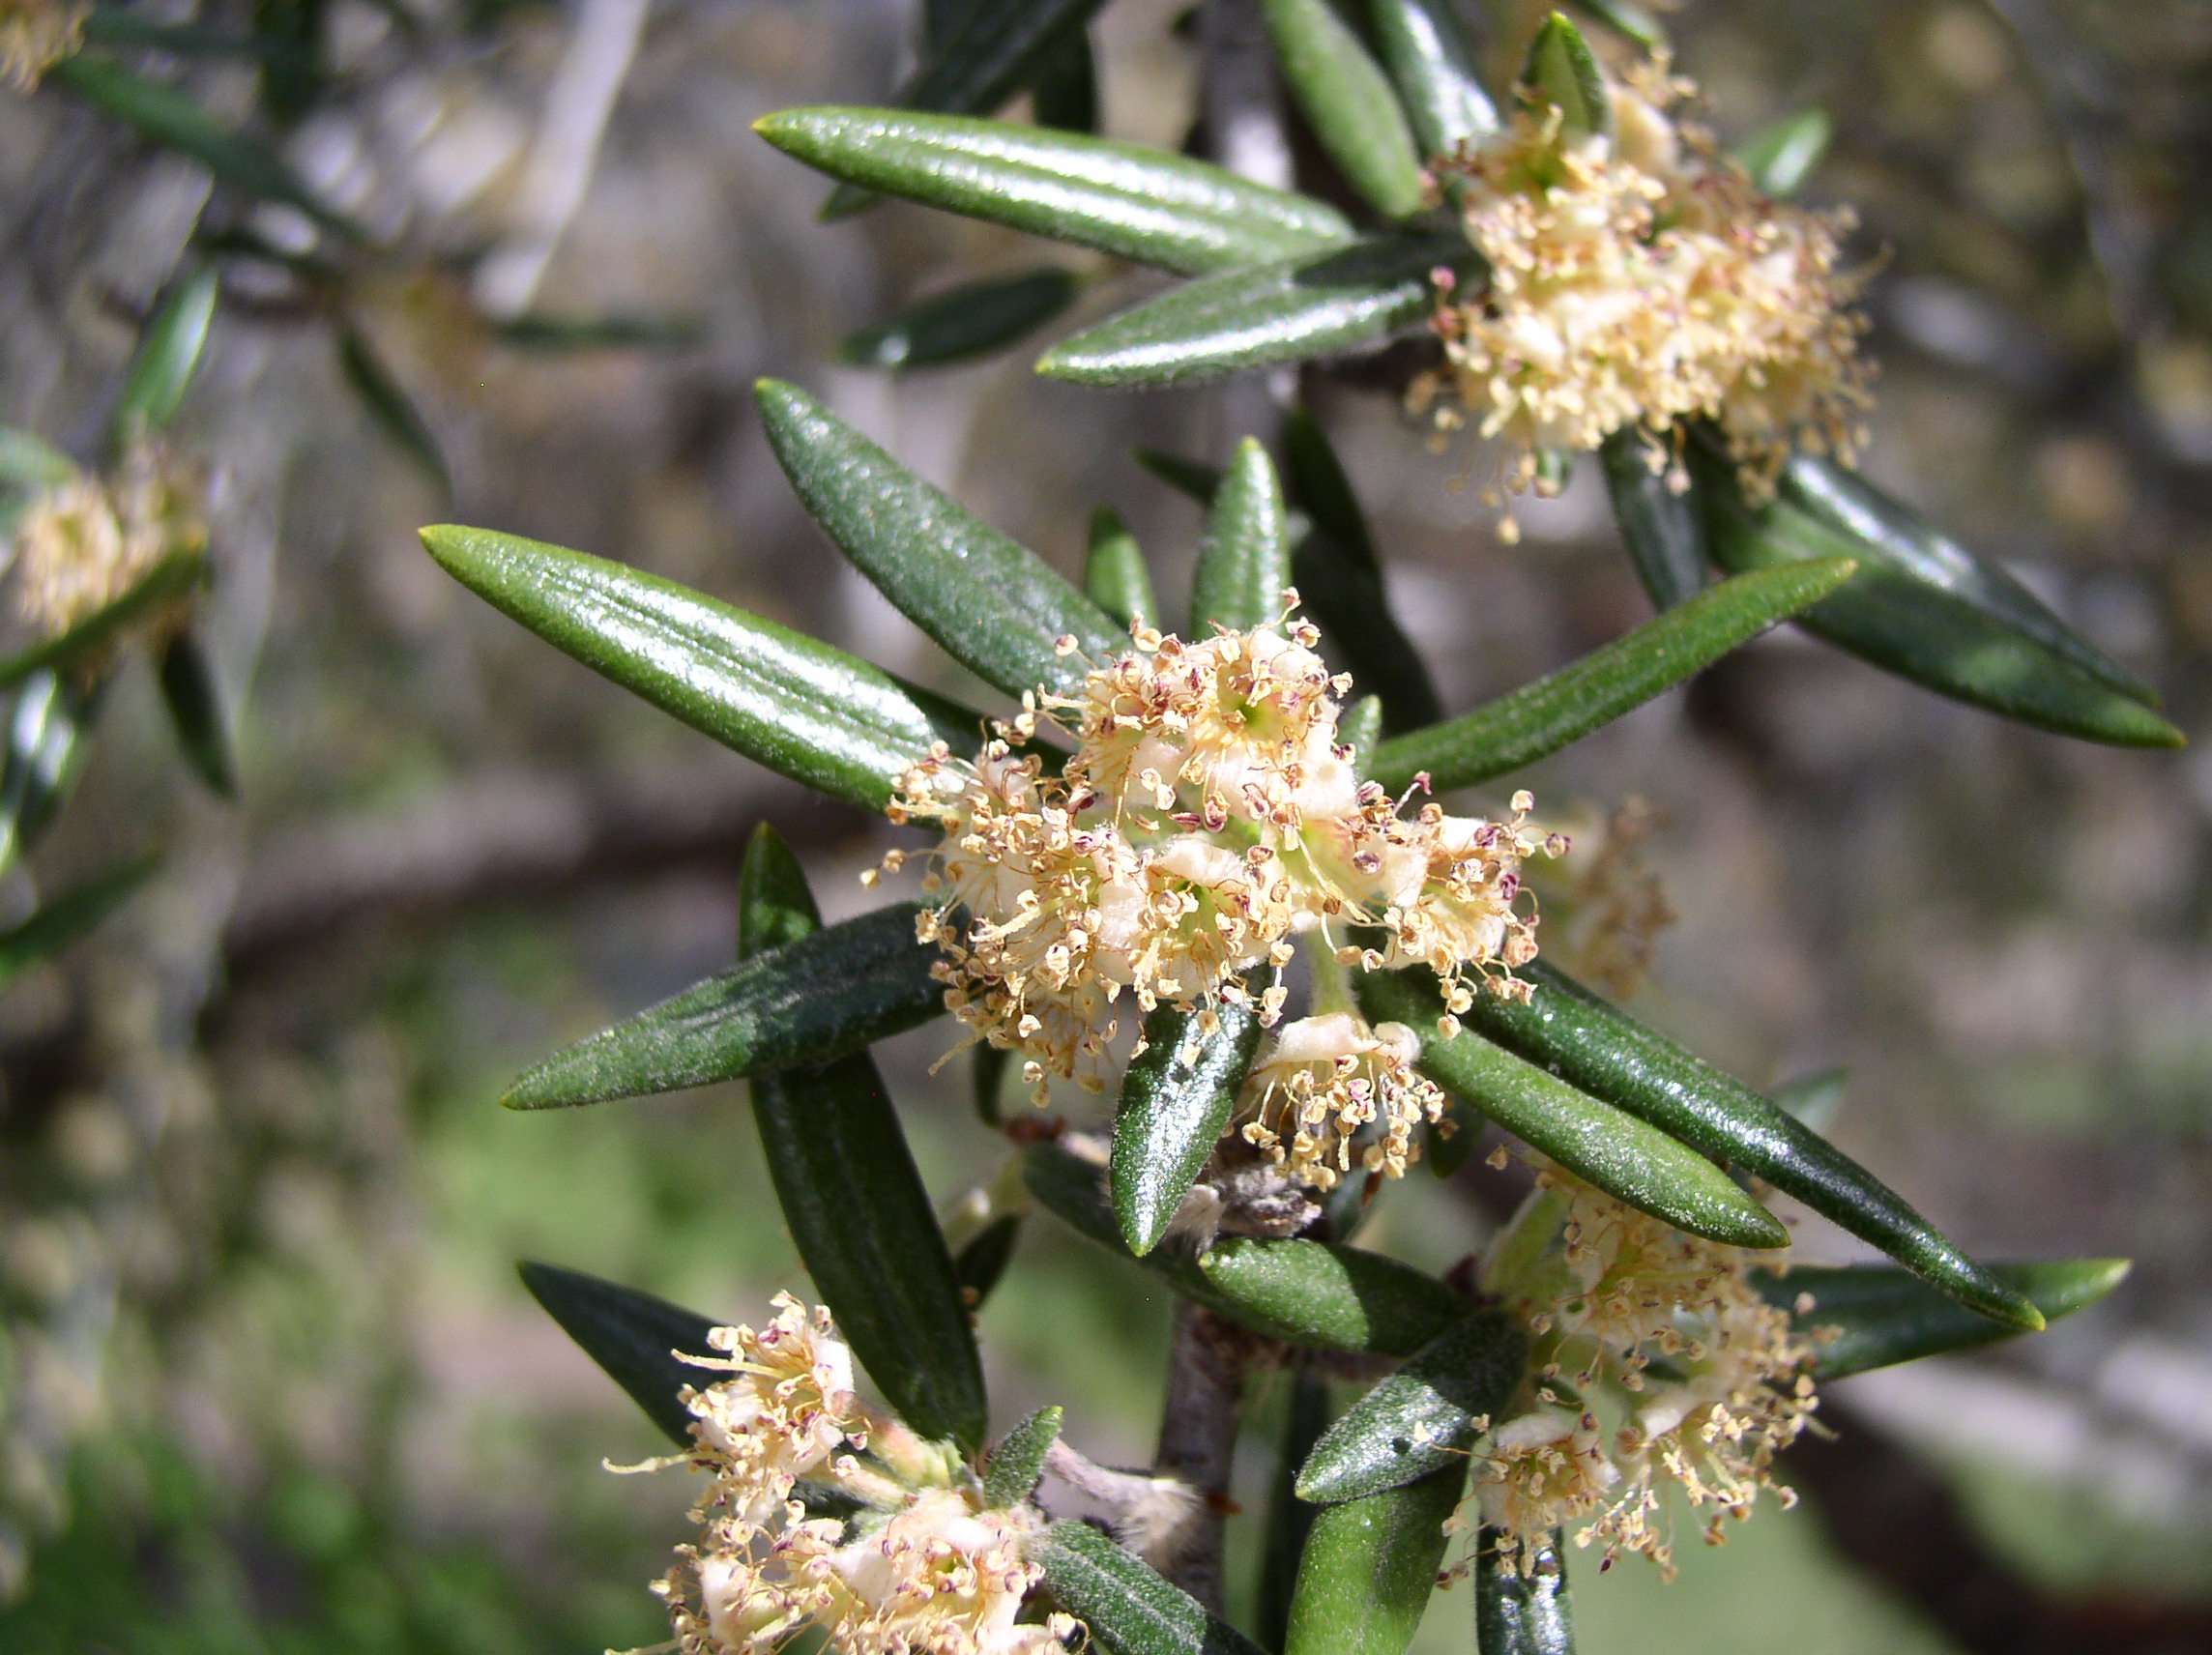
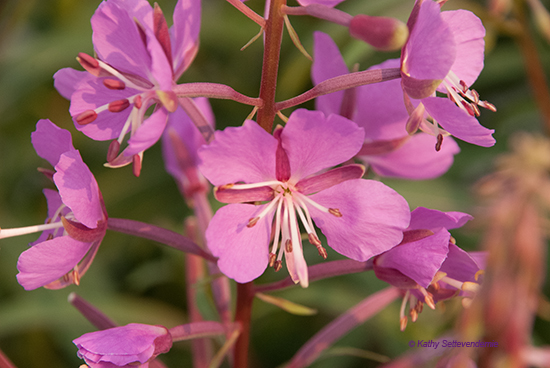
 Continuous blooms will assist with pollination while adding to the beauty of a garden. Plants that bloom in different seasons often live together in small areas so incorporating multiple species in or near your vegetable garden will not only reward you with long periods of flowers but assist in attracting pollinators to your vegetables. Biodiversity also contributes to the improvement of soil health, stabilizes soils, provides nutrient storage and assists in mitigating chemical and water pollution.
 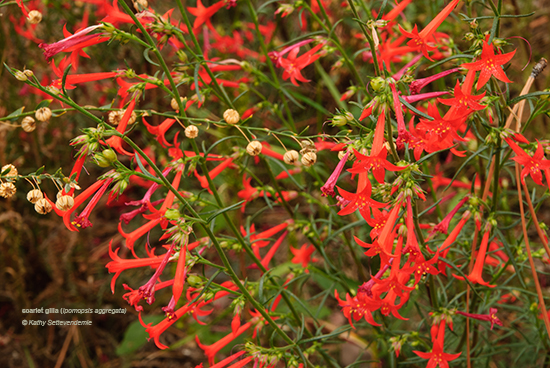 Species that get along well with others in a vegetable garden include those that do not reseed freely and have fibrous rather than rhizomatous roots that might take over. While many Montana native species prefer poor soils, those that tolerate extra water and lush soil conditions (such as those found in well tended vegetable gardens) will outperform those that don’t. It is important to work with plants that will be right for your garden area.
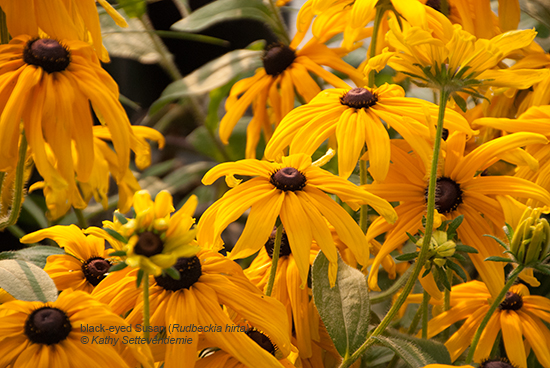 Here are some of the most well-behaved native wildflowers that will tolerate growing in a vegetable garden.
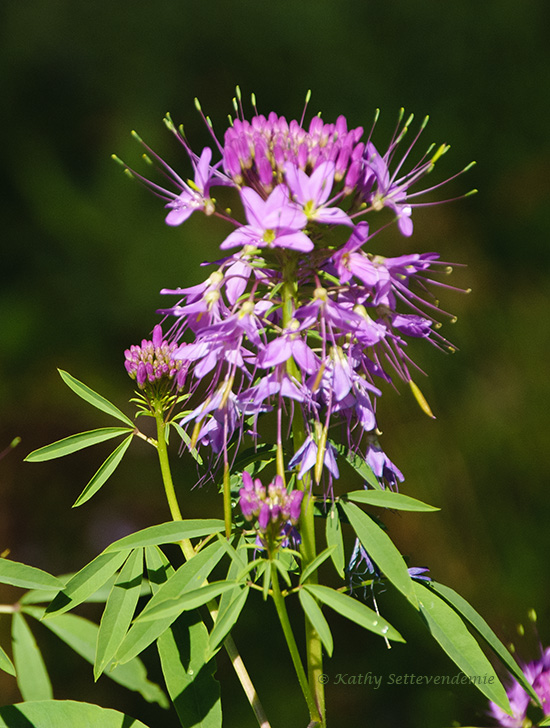